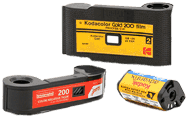
Our award-winning photo lab has developed millions of rolls of film and we still love it!
The Nintendo 3DS remains a beloved handheld, but as the console ages, understanding the "NAND" becomes crucial for data recovery and advanced modification. Whether you are looking to back up your system or restore a corrupted unit, this guide covers everything regarding the 3DS NAND. What is the 3DS NAND?
Hold the Start button while powering on the console to enter the Luma3DS chainloader menu. Select GodMode9. Navigate to [S:] SYSNAND VIRTUAL. Highlight the file named nand.bin. Press the A button and select "Copy to 0:/gm9/out".
Once the process reaches 100%, press A to relock write permissions and reboot your system. Common Troubleshooting
Choose "NAND image options..." then select "Restore sysNAND (safe)".
Place your nand.bin file into the /gm9/out/ folder on your SD card. Boot into GodMode9 (Hold Start during power on). Navigate to [0:] SDCARD -> gm9 -> out. Select your nand.bin file and press A.
If your system becomes unstable or "bricked," you can restore your previous NAND dump. Warning: This process can be dangerous if interrupted. Ensure your console is plugged into a charger.
Corrupted SD Card: If the NAND dump fails halfway, your SD card may be failing. Use a high-quality Class 10 card to prevent data loss. Summary of Safety Rules Never use a NAND file from a different console.
File Not Found: Ensure the file is named exactly nand.bin and is in the correct folder. GodMode9 is case-sensitive.

Professional photographer and YouTube personality
San Francisco, California
Danni is an avid film photographer and writer from
Sacramento, CA
Avid photographer and YouTube Personality
Chillicothe, Ohio
The Nintendo 3DS remains a beloved handheld, but as the console ages, understanding the "NAND" becomes crucial for data recovery and advanced modification. Whether you are looking to back up your system or restore a corrupted unit, this guide covers everything regarding the 3DS NAND. What is the 3DS NAND?
Hold the Start button while powering on the console to enter the Luma3DS chainloader menu. Select GodMode9. Navigate to [S:] SYSNAND VIRTUAL. Highlight the file named nand.bin. Press the A button and select "Copy to 0:/gm9/out".
Once the process reaches 100%, press A to relock write permissions and reboot your system. Common Troubleshooting
Choose "NAND image options..." then select "Restore sysNAND (safe)".
Place your nand.bin file into the /gm9/out/ folder on your SD card. Boot into GodMode9 (Hold Start during power on). Navigate to [0:] SDCARD -> gm9 -> out. Select your nand.bin file and press A.
If your system becomes unstable or "bricked," you can restore your previous NAND dump. Warning: This process can be dangerous if interrupted. Ensure your console is plugged into a charger.
Corrupted SD Card: If the NAND dump fails halfway, your SD card may be failing. Use a high-quality Class 10 card to prevent data loss. Summary of Safety Rules Never use a NAND file from a different console.
File Not Found: Ensure the file is named exactly nand.bin and is in the correct folder. GodMode9 is case-sensitive.


 Gift Cards
 Film Index
 FAQ
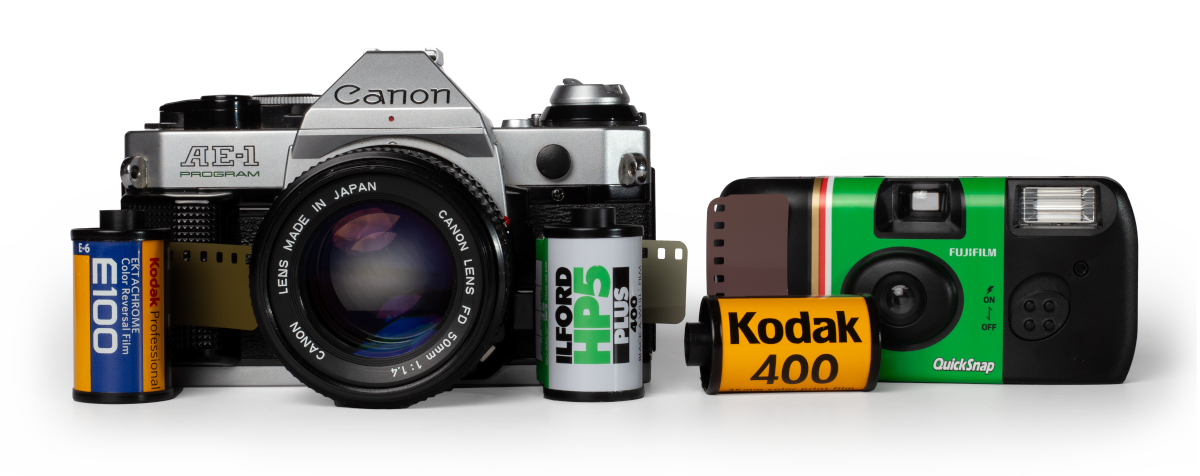
FAQ 35mm
35mm 120/220
 Single Use Cameras
 110/126/Advantix
 Sheet Film
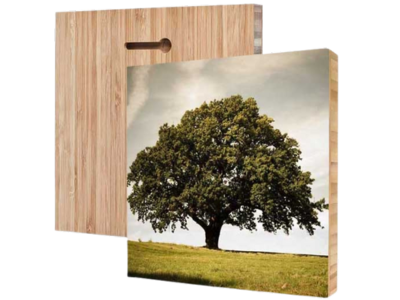
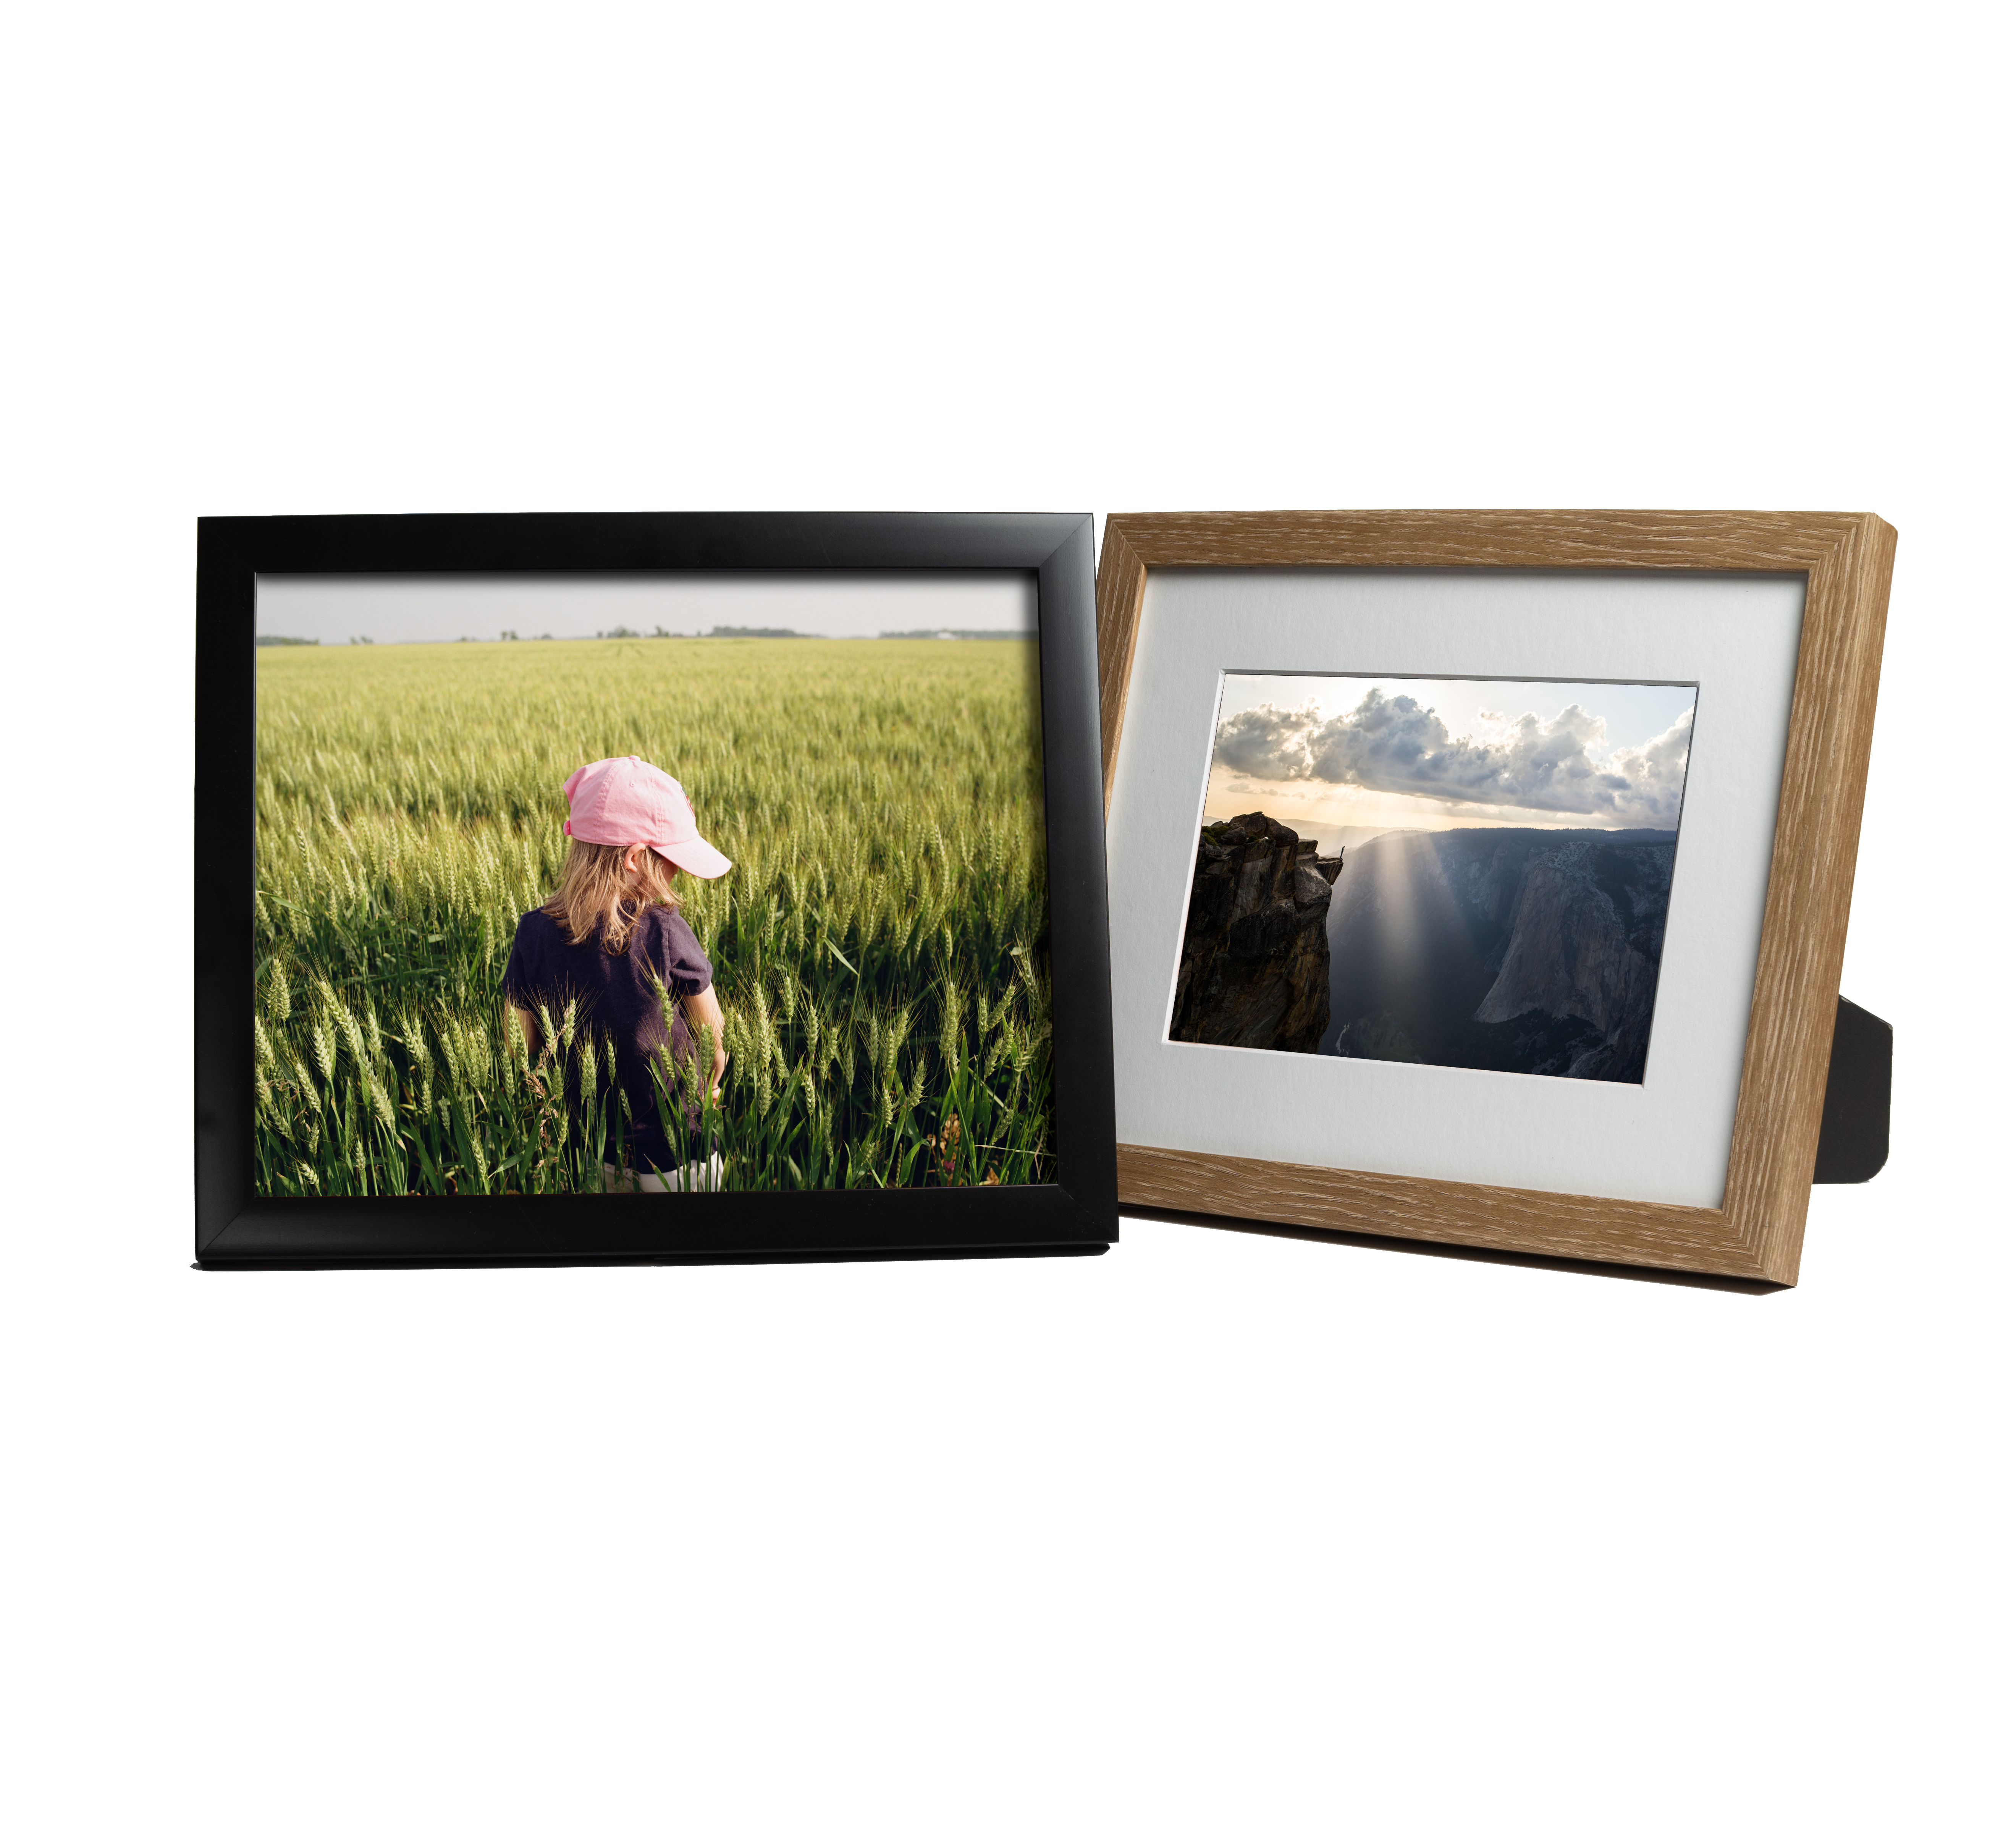
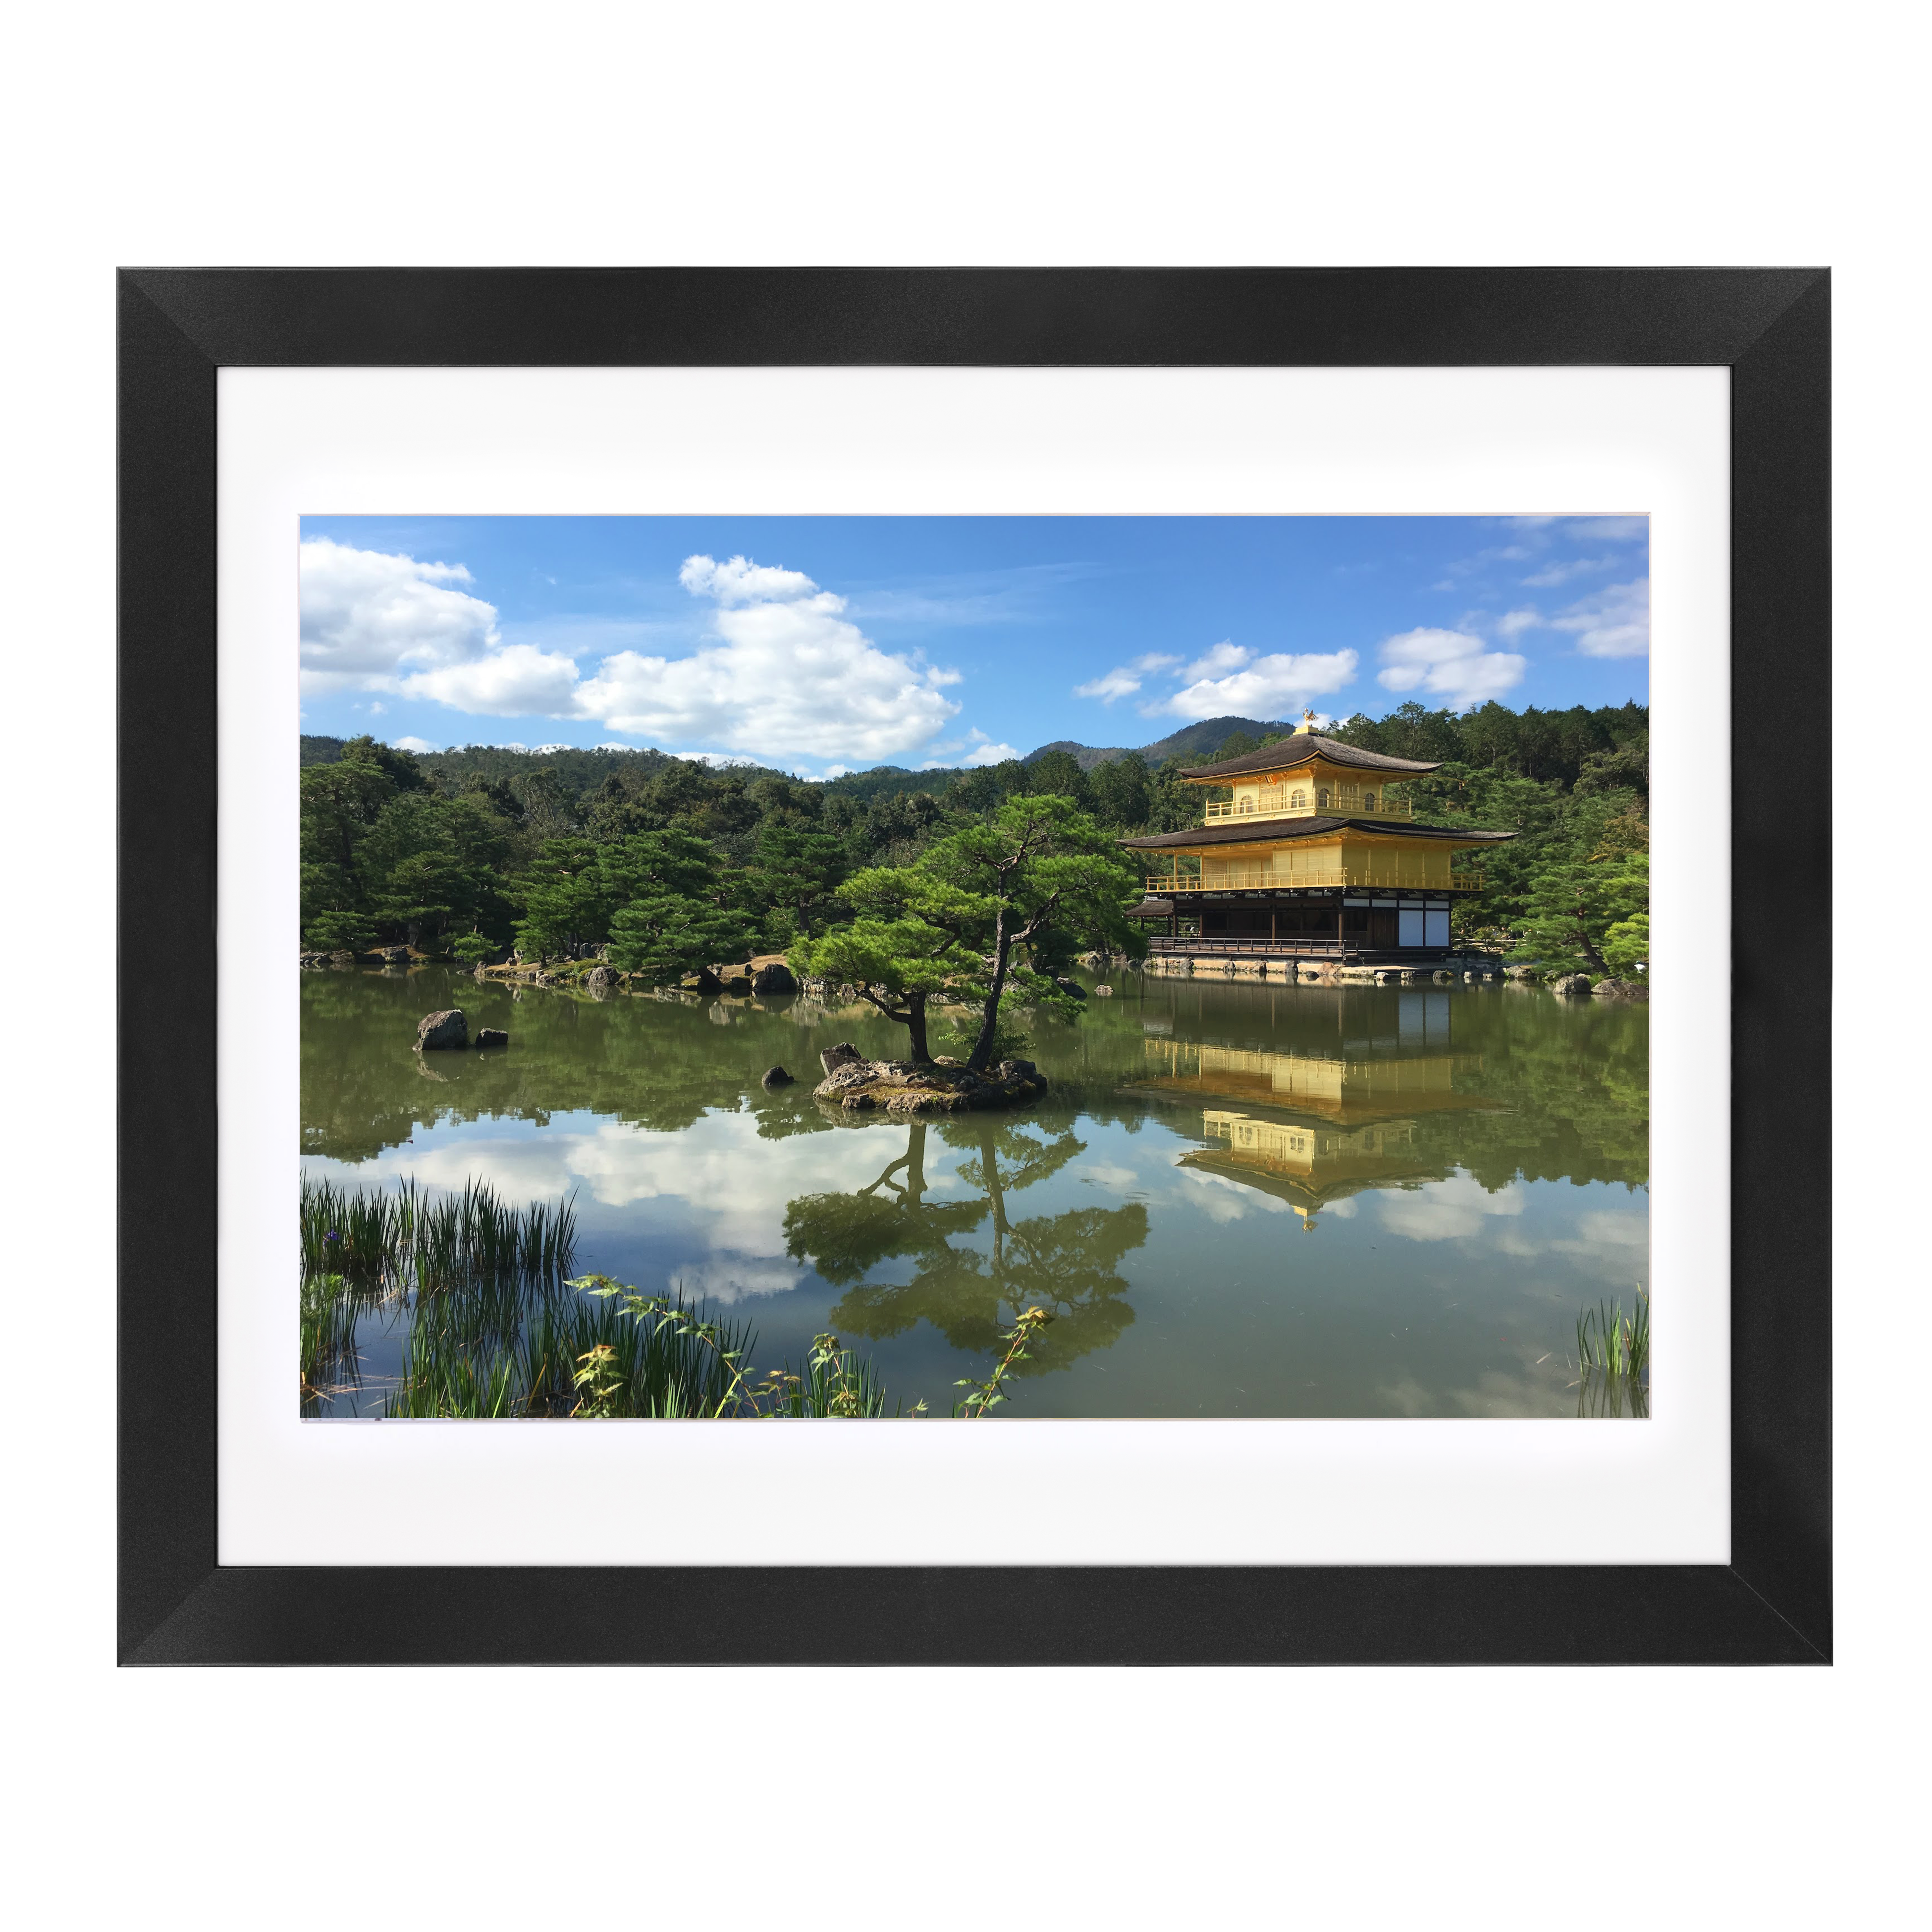
 Desktop Framed Prints